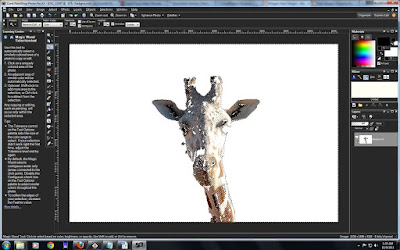
1. Using a program called Paint Shop Pro by Corel Draw, choose a picture you want to make a silhouette. I chose a giraffe picture I took when visited Cheyenne Mountain Zoo.
Open the file. Using a magic wand, I traced her. If it's not showing, view, palettes, tool option from the menu. Hold the shift key if you want to include the picture, hold ctrl key if you want to exclude the picture.
2. Choose selection, invert. You are telling Paint Shop to choose the background, not the subject. Choose material (on the right hand side or choose view, palettes, material) and using a dropper, choose the far right color (white). Right click your mouse. It will change the color to white. Then edit, clear.
You will have a giraffe with white background.
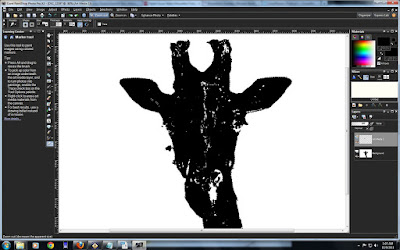
 3. Choose, selection, invert. You are telling Paint Shop to choose the subject. I want to change the giraffe color to black. On the right hand side, choose material. Bring your mouse the bottom very far left and right click your mouse. This will choose the color black. Edit, clear.
This will make the giraffe looks black.
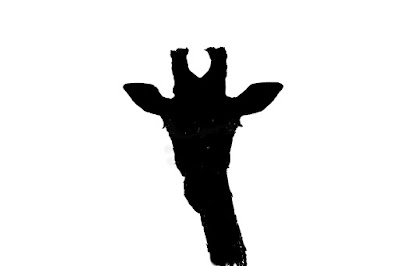
 4. Subject is almost perfect. I use marker tool to darken the area that is imperfect. When you are happy, select the subject using select tool, copy special, copy merge, paste as new image and save the file. You just make your own silhouette project.
No comments:
Post a Comment