
Now... you have made the silhouette like in my past project and would like to post it on the internet. If you are really concern that someone may copy your picture for personal use, you may want to watermark your work.
First, is to create your own watermarking. You can write anything. I write mine "Copyright Bigib". Open new file, I chose 300x200 pixels, color transparent, RGB 8 bits channel, OK.
Click Text tool (A on a box), choose your font, size and create as vector. Since I will be putting the watermark on a black surface, I chose white background (color of the letter) and null foreground (color for the letter outline).
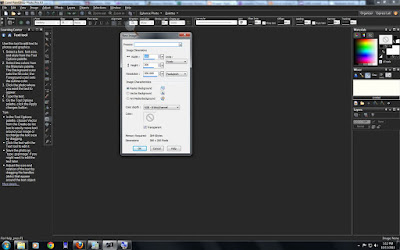
To add a keyboard short cut copyright symbol, use alt+0169. For registered symbol use alt+0174, for trademark symbol, use alt+0153. I then add the wording "Bigib". When you are happy with the wording, click apply (green check mark on the palette). You then can move the writing to the center or anywhere you like it.
Then file, save as PSP image. You are now ready to watermark your picture. Open the picture file you want to add watermarking. Zoom in or out so you can see both images.
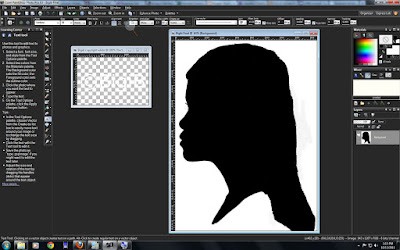
Go to image, watermarking, visible watermarking. A new window till open up. You can browse and chose the new image you just made. You also have the opportunity to set the opaque, emboss, size and even placement. I want to place mine in the center.
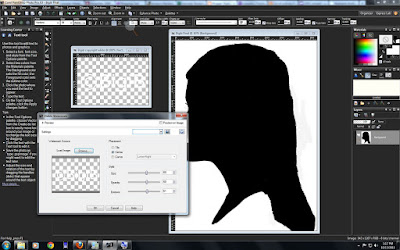 And then save the final picture as jpg. Now you can upload to the internet. The watermarking helps deter someone from using your image.
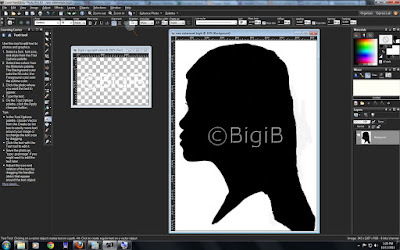
There is also an option where you can track your image, which is using image, watermarking, embedded watermark that would take you to Digimarc. This is a service you need to subscribe.
For me, I think I'm happy with the visible watermarking.
Happy trying...
1 comment:
Thank you so much for this tutorial! I just used it and it worked perfectly.
Post a Comment